Creating a Databricks Free Account
In this lecture, let's set up a Databricks Free Edition account and get access to a free serverless workspace. Let's go step by step.
Step 1: Search for "Databricks Free Edition"
Open your browser and search for "Databricks free edition".
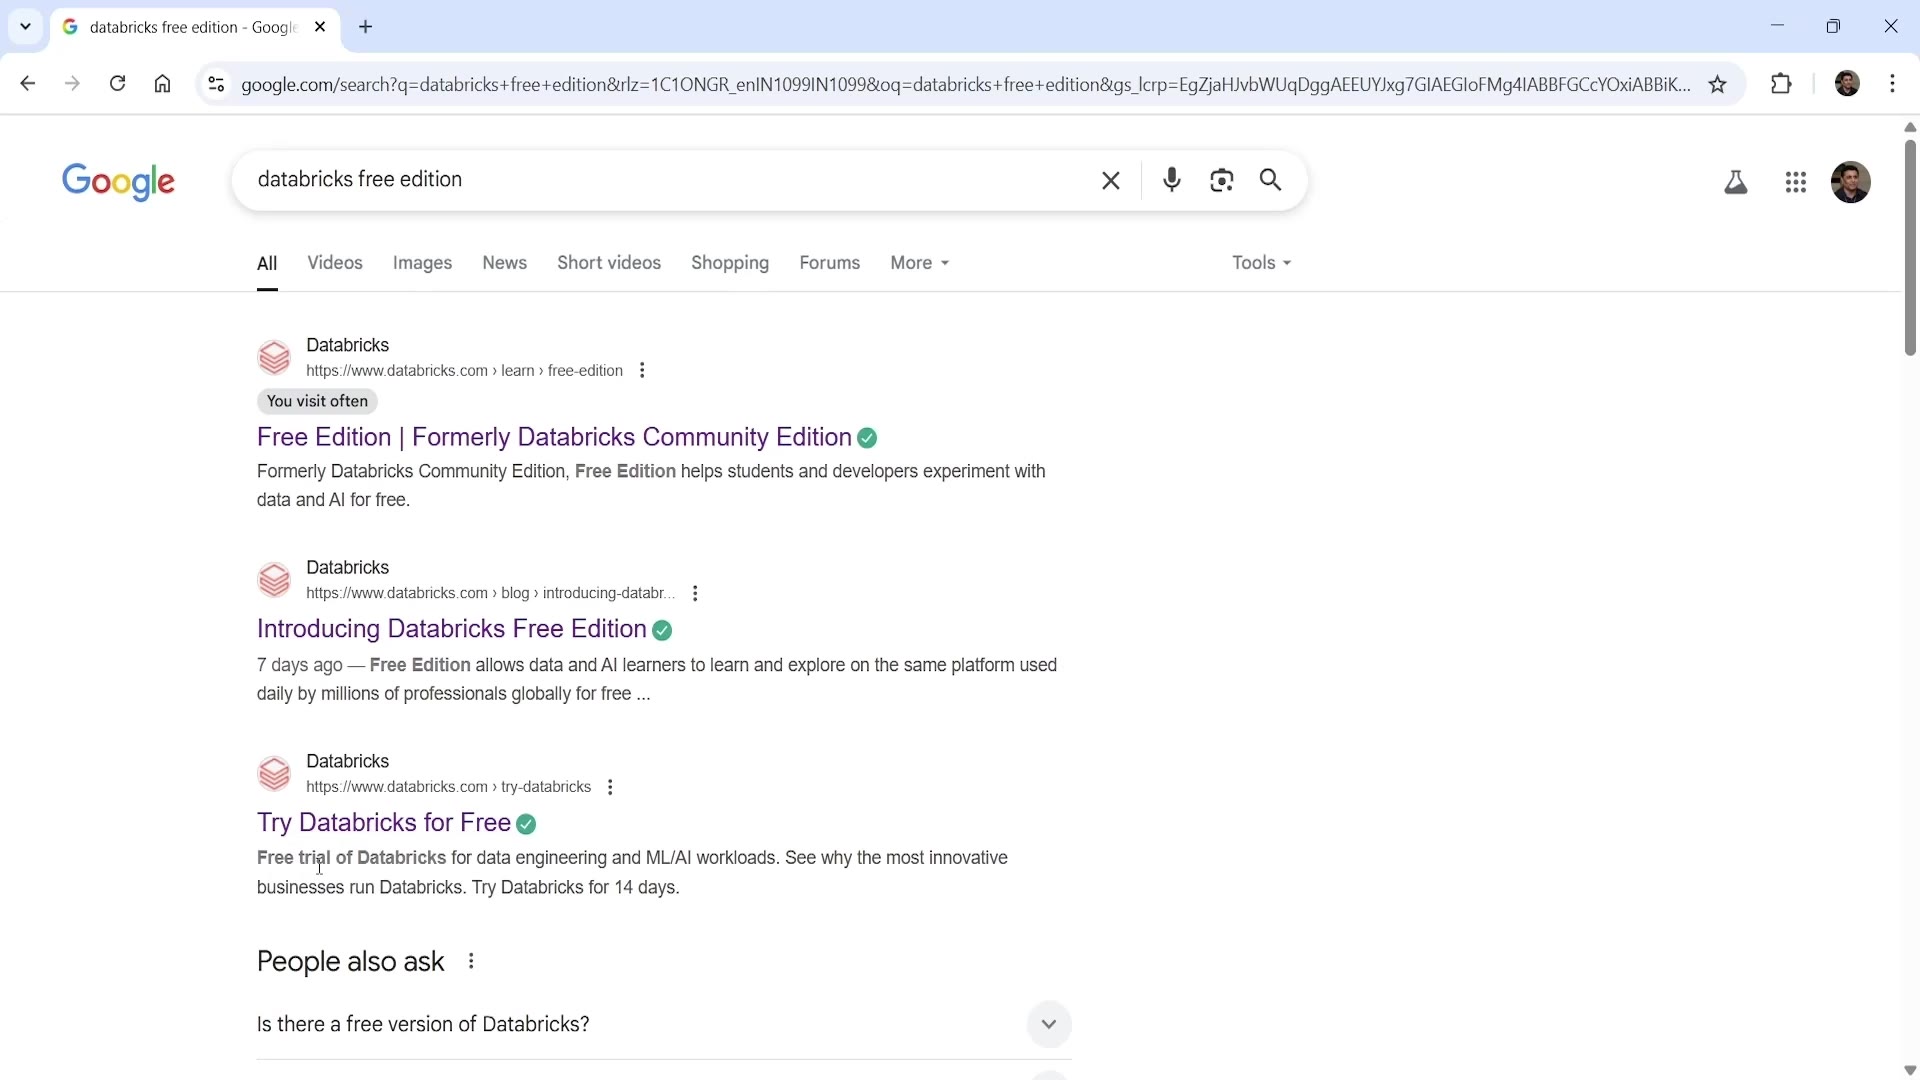 Search for Databricks free edition
Here's an important tip: search for "Databricks free edition", and not "Databricks free account." If you search for "Databricks free account," Google may show you results like "Try Databricks for Free" — that's a 14-day free trial, which is not what we want.
We specifically want Databricks Free Edition — which used to be called Databricks Community Edition. Look for the result titled "Free Edition | Formerly Databricks Community Edition", and click on it.
Step 2: Sign Up
On the Free Edition page, you'll see two options: Sign up and Log in to Free Edition. Since we're creating a new account, click Sign up.
You'll be asked for your email address (or you can continue with Google or Microsoft directly). Enter your email and click Continue.
Step 3: Verify Your Email
Databricks will send a 6-digit verification code to your email address. Check your inbox, and enter that code on the verification screen.
Step 4: Name Your Account
Next, you'll be asked to name your account — typically your organization's name, though you can use your own name too. Type it in and click Continue.
Step 5: A Few More Quick Steps
After naming your account, you'll go through a couple of final setup screens:
- Choose your country — select where you're located.
- A short verification puzzle — Databricks may show a simple interactive check (like rotating an object to match a direction) to confirm you're human. Just follow the on-screen instructions.
Once that's done, you'll briefly see a "Setting up your account" screen while Databricks prepares your workspace — this takes just a few seconds.
Step 6: You're In!
Once setup finishes, you'll land on your brand-new Databricks workspace home page.
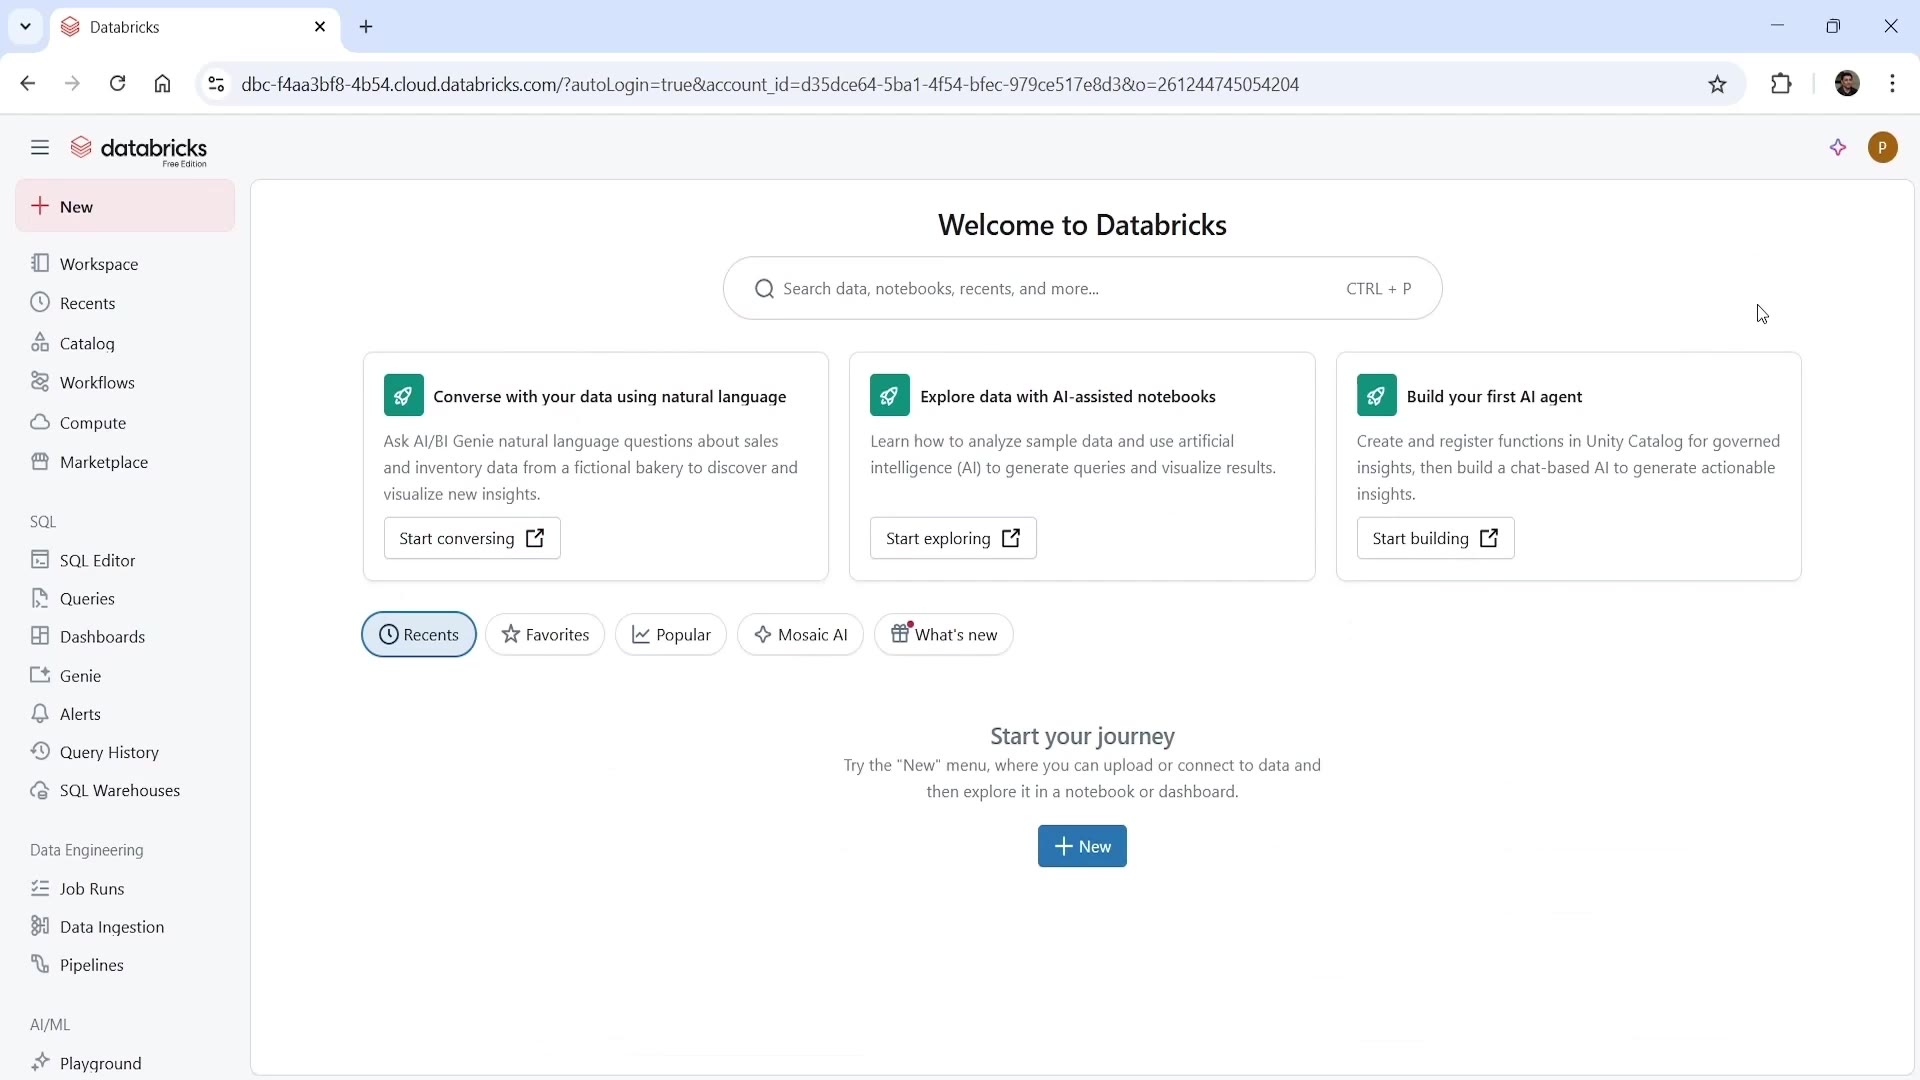 Welcome to Databricks
That's it — your Databricks Free Edition account and serverless workspace are ready to use.
A useful tip: bookmark login.databricks.com — this is the URL you'll use to log back in next time. If you ever end up with multiple Databricks accounts under the same email (for example, a free edition account and a separate premium trial account), this login page will ask you which account you want to log into.
Step 7 (Optional): Switch to Dark Theme
If you'd prefer a dark interface (many developers do), here's how:
- Go to Settings → Preferences → Appearance, and set Interface theme to Prefer dark.
- To also change your code editor's color scheme, go to Settings → Developer → Code editor, and set Editor theme (dark) to whichever you like — options include Databricks Default, Dracula, Atom One Dark, Monokai, and more. A popular, standard choice is GitHub Dark.
Summary
| Step | What You Do |
|---|---|
| 1 | Search "Databricks free edition" (not "free account") |
| 2 | Click Sign up, enter your email |
| 3 | Verify your email with the 6-digit code |
| 4 | Name your account |
| 5 | Choose your country, complete the verification puzzle |
| 6 | Land on your new Databricks workspace |
| 7 (optional) | Switch to dark theme via Settings → Preferences and Settings → Developer |
That's how simple it is to create your Databricks Free Edition account. In the next lecture, I'll walk you through how to actually use it for this course.
See you again. Keep learning, and keep growing!