Delete and Cleanup Databricks Workspace
In this lecture, let's learn how to delete a Databricks classic workspace and clean up its resources properly — so you're not stuck paying for infrastructure you're no longer using.
Important to understand up front: cleaning up a classic workspace requires working at two separate levels:
- Cleaning up the resources in your AWS cloud account.
- Cleaning up the workspace in your Databricks account console.
These two are not automatically connected — doing one does not automatically do the other, as we'll see. Let's go through both.
Part 1: Cleanup From AWS (CloudFormation)
When we created the classic workspace earlier, it was deployed through a CloudFormation stack. This is actually convenient — it means every single resource created for that workspace is tracked in one place, making cleanup straightforward.
Go to CloudFormation in your AWS console. You should see one stack — something like "AWSMarketplaceQuicklaunch-DatabricksDeploymentStack...". This stack captured 27 resources in total: the workspace storage bucket, bucket policy, cross-account IAM roles (storage and compute), subnets, the NAT Gateway, routing tables, the VPC, Internet Gateway, security groups, and the Elastic IP for the NAT Gateway.
Recall from the previous lecture: two of these resources — the NAT Gateway and its Elastic IP — are the ones that carry a daily cost (~$1/day) even when you're not using the workspace. That's exactly why we're doing this cleanup.
Step 1: Try Deleting the Stack
Select the stack, and click Delete stack. In most cases, this alone would clean up everything. However, there's a specific gotcha to know about:
The stack cannot delete a non-empty S3 bucket. If your workspace storage bucket already has content in it (which it likely will, since Databricks stores metadata and Unity Catalog data there), the stack deletion will fail with an error saying the bucket isn't empty.
Step 2: Empty the Bucket First
To avoid this error, go to the bucket directly (you can find its "Physical ID" listed in the stack's Resources tab), and empty it manually:
- Go to S3 → Buckets, and select the bucket used by your workspace.
- Click Empty.
- Type "permanently delete" to confirm, and complete the action.
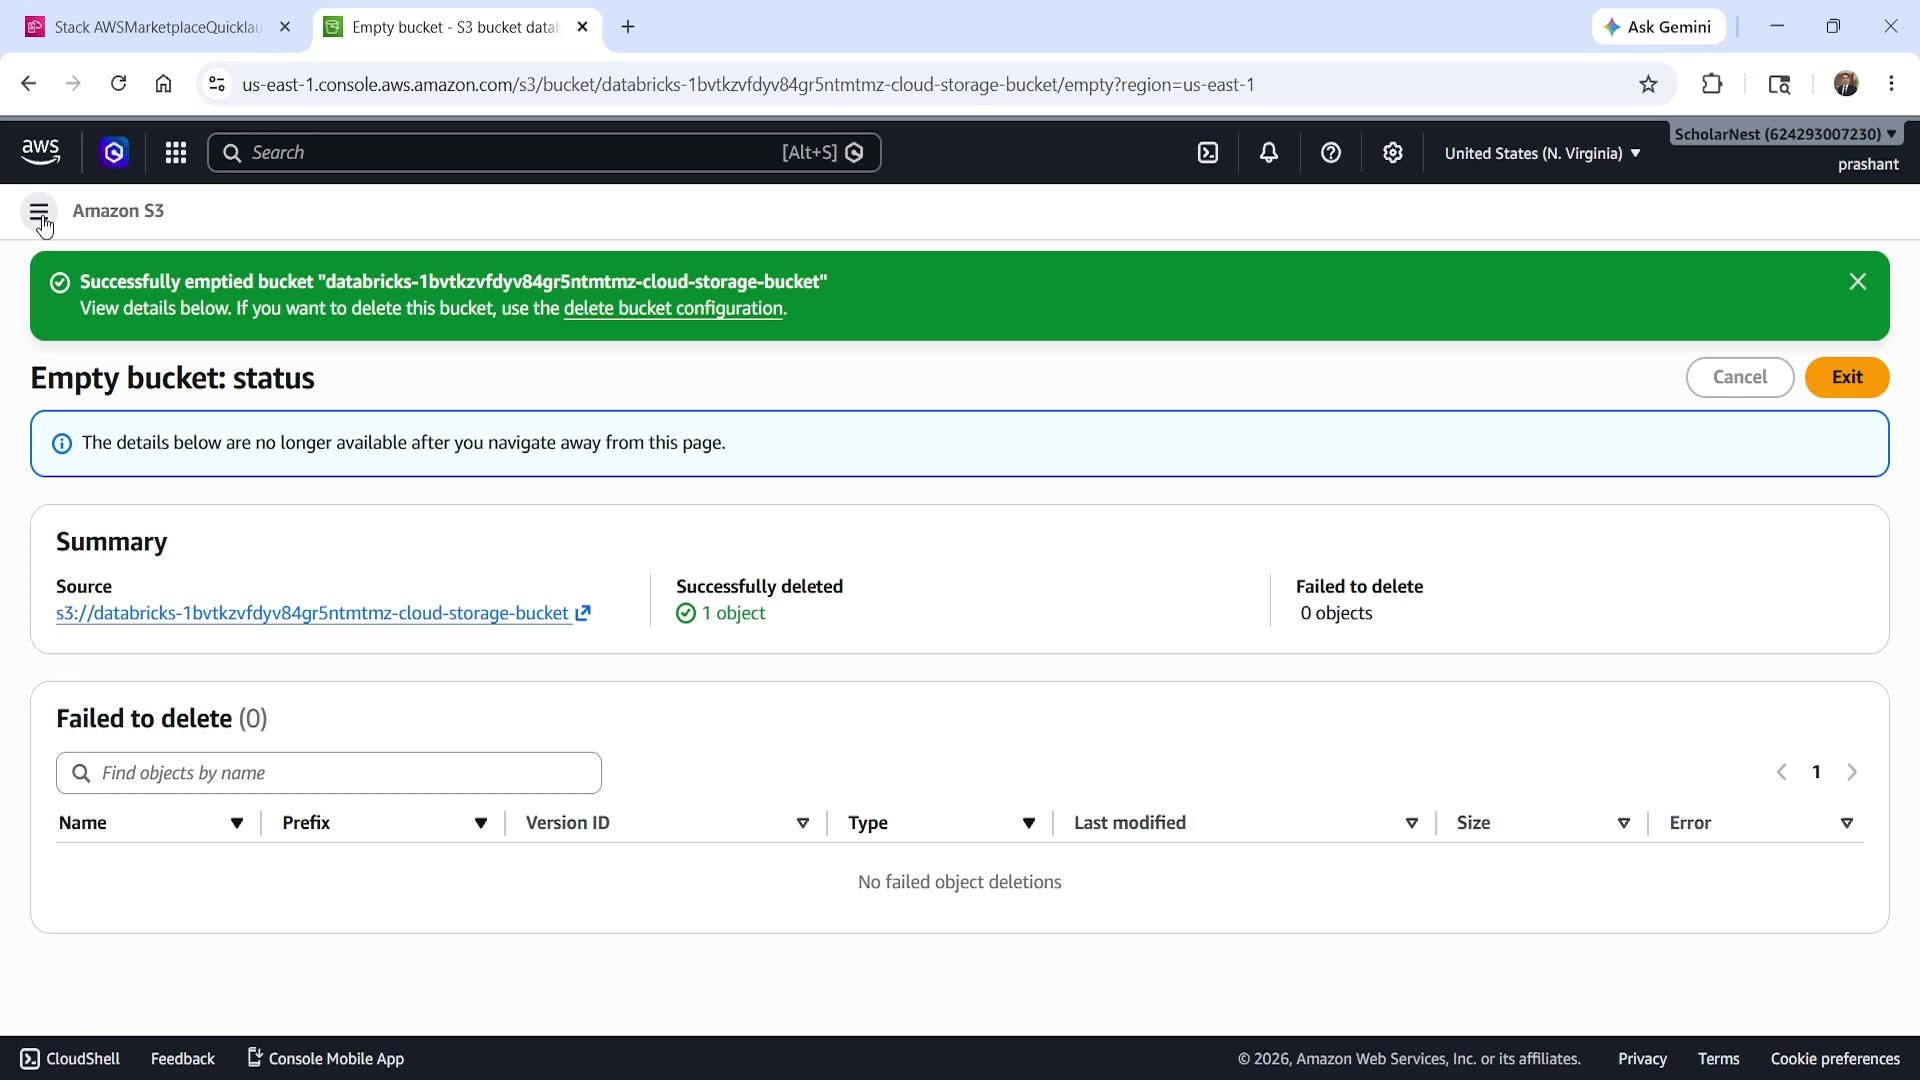 S3 bucket emptied successfully
Once the bucket is confirmed empty, go back to CloudFormation.
Step 3: Delete the Stack
Now select the stack again, click Delete stack, type the confirmation text it asks for, and confirm. Deletion typically takes a couple of minutes — you can refresh the Stacks page to check progress. Once it shows no stacks, all 27 resources — including the NAT Gateway and its Elastic IP — have been removed, and you've stopped incurring that daily AWS cost.
If deletion fails for any reason, CloudFormation will let you retry.
Part 2: Cleanup From the Databricks Account Console
Here's the important gotcha for this section: deleting the CloudFormation stack in AWS does not clean up the workspace on the Databricks side. These two are disconnected — you have to clean up both, separately.
Go to login.databricks.com, sign in to your paid/premium account, and open the Account Management Console. Go to Workspaces — you'll notice your classic workspace is still listed there, even though its AWS resources are already gone.
Click into the workspace to see what's linked to it. You'll typically find:
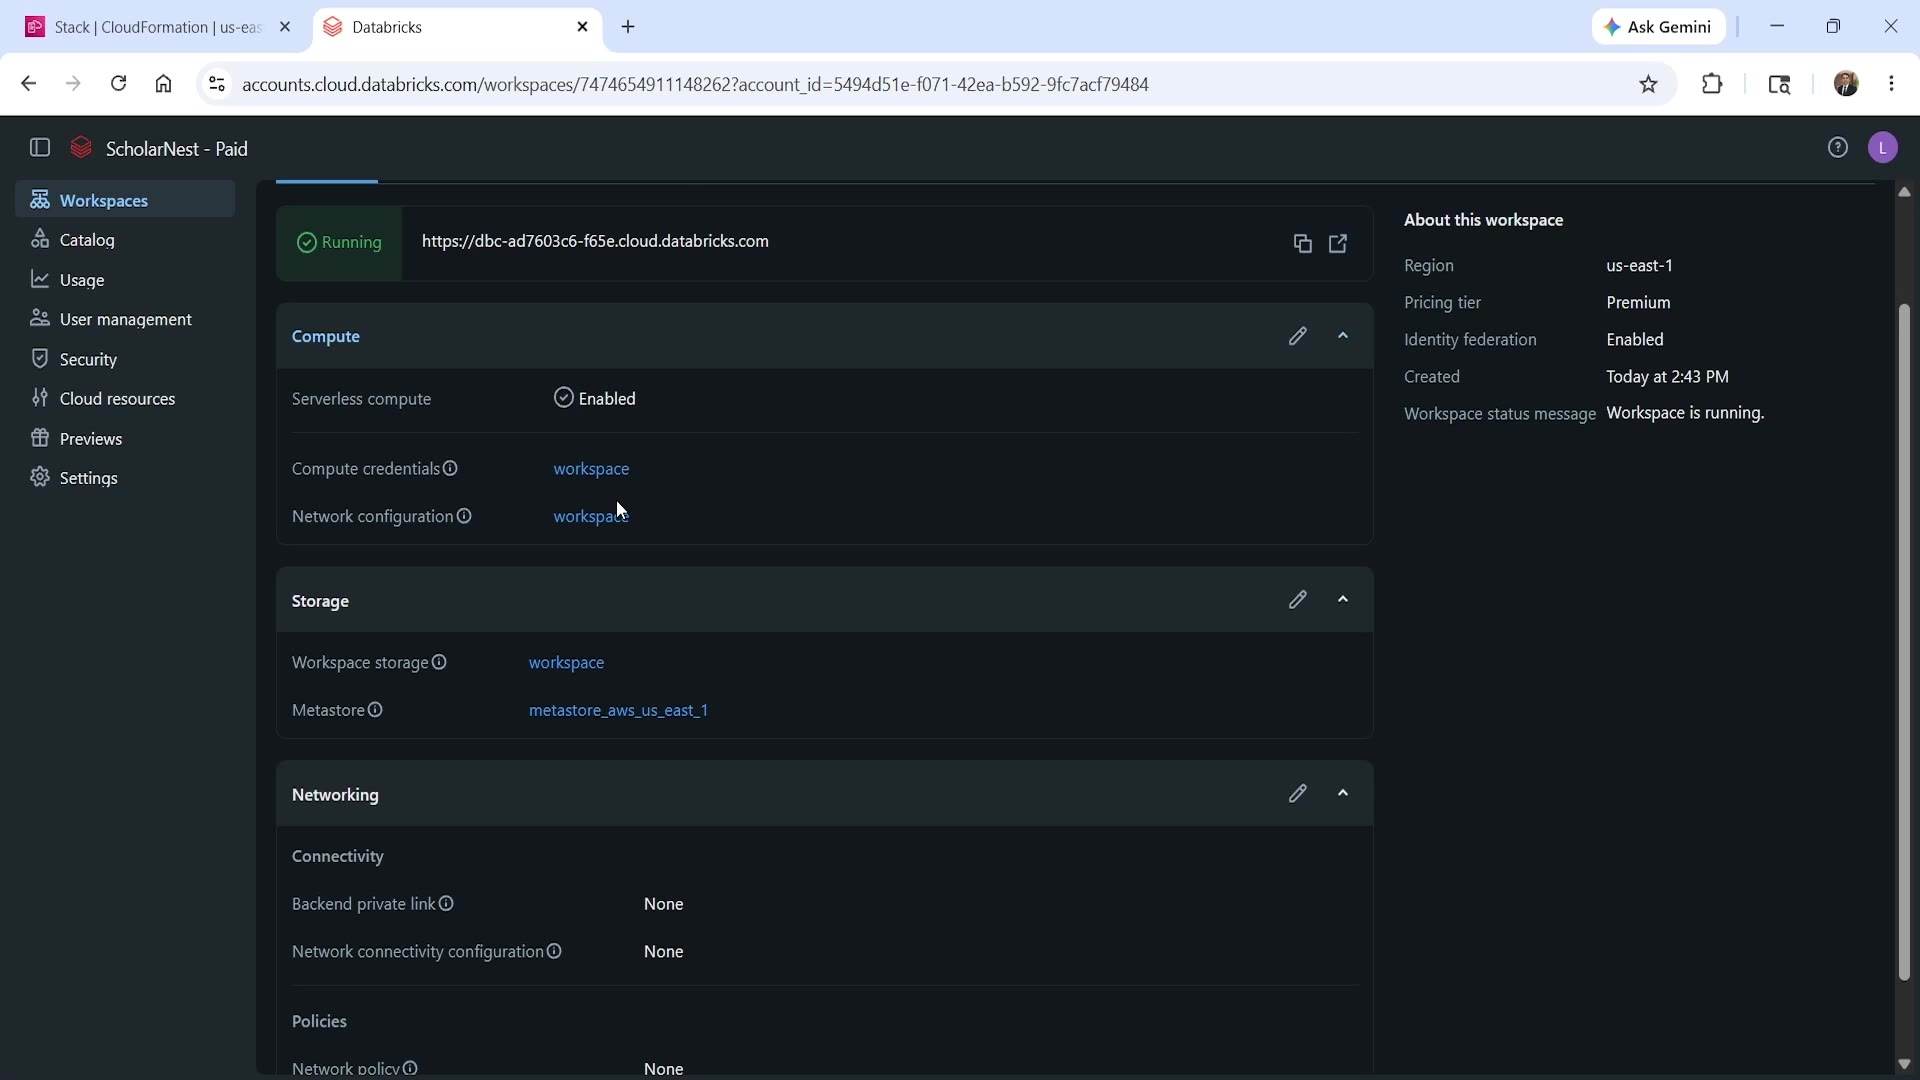 Databricks workspace still showing as Running
- Compute credentials — a resource named after the workspace (e.g., "workspace")
- Network configuration — also named after the workspace
- Workspace storage — also named after the workspace
- Metastore — this one is different (see below)
What to Delete — and What Not To
Delete the workspace, and the three resources tied specifically to it: compute credentials, network configuration, and workspace storage.
Do not delete the metastore. A metastore is shared across an entire region — all your workspaces in that region use the same one. In this case, it's used by both your serverless and classic workspaces, so deleting it would break your serverless workspace too.
Steps to Clean Up
- Open the classic workspace, go to Actions, and select Delete. You'll be asked to type/confirm the workspace name — do so, and confirm.
- Once deleted, go to Cloud resources → Credential configurations. Find the one used by your (now-deleted) workspace — clicking it should show "Used in: nothing", confirming it's safe to delete. Delete it.
- Go to Storage configurations, find the matching one (also showing "Used in: nothing"), and delete it.
- Go to Network configurations, find the one tied to your workspace's VPC ID, and delete it as well.
Once done, go back to your Workspaces list — you should see only your serverless workspace remaining, with no leftover credential, storage, or network configurations hanging around.
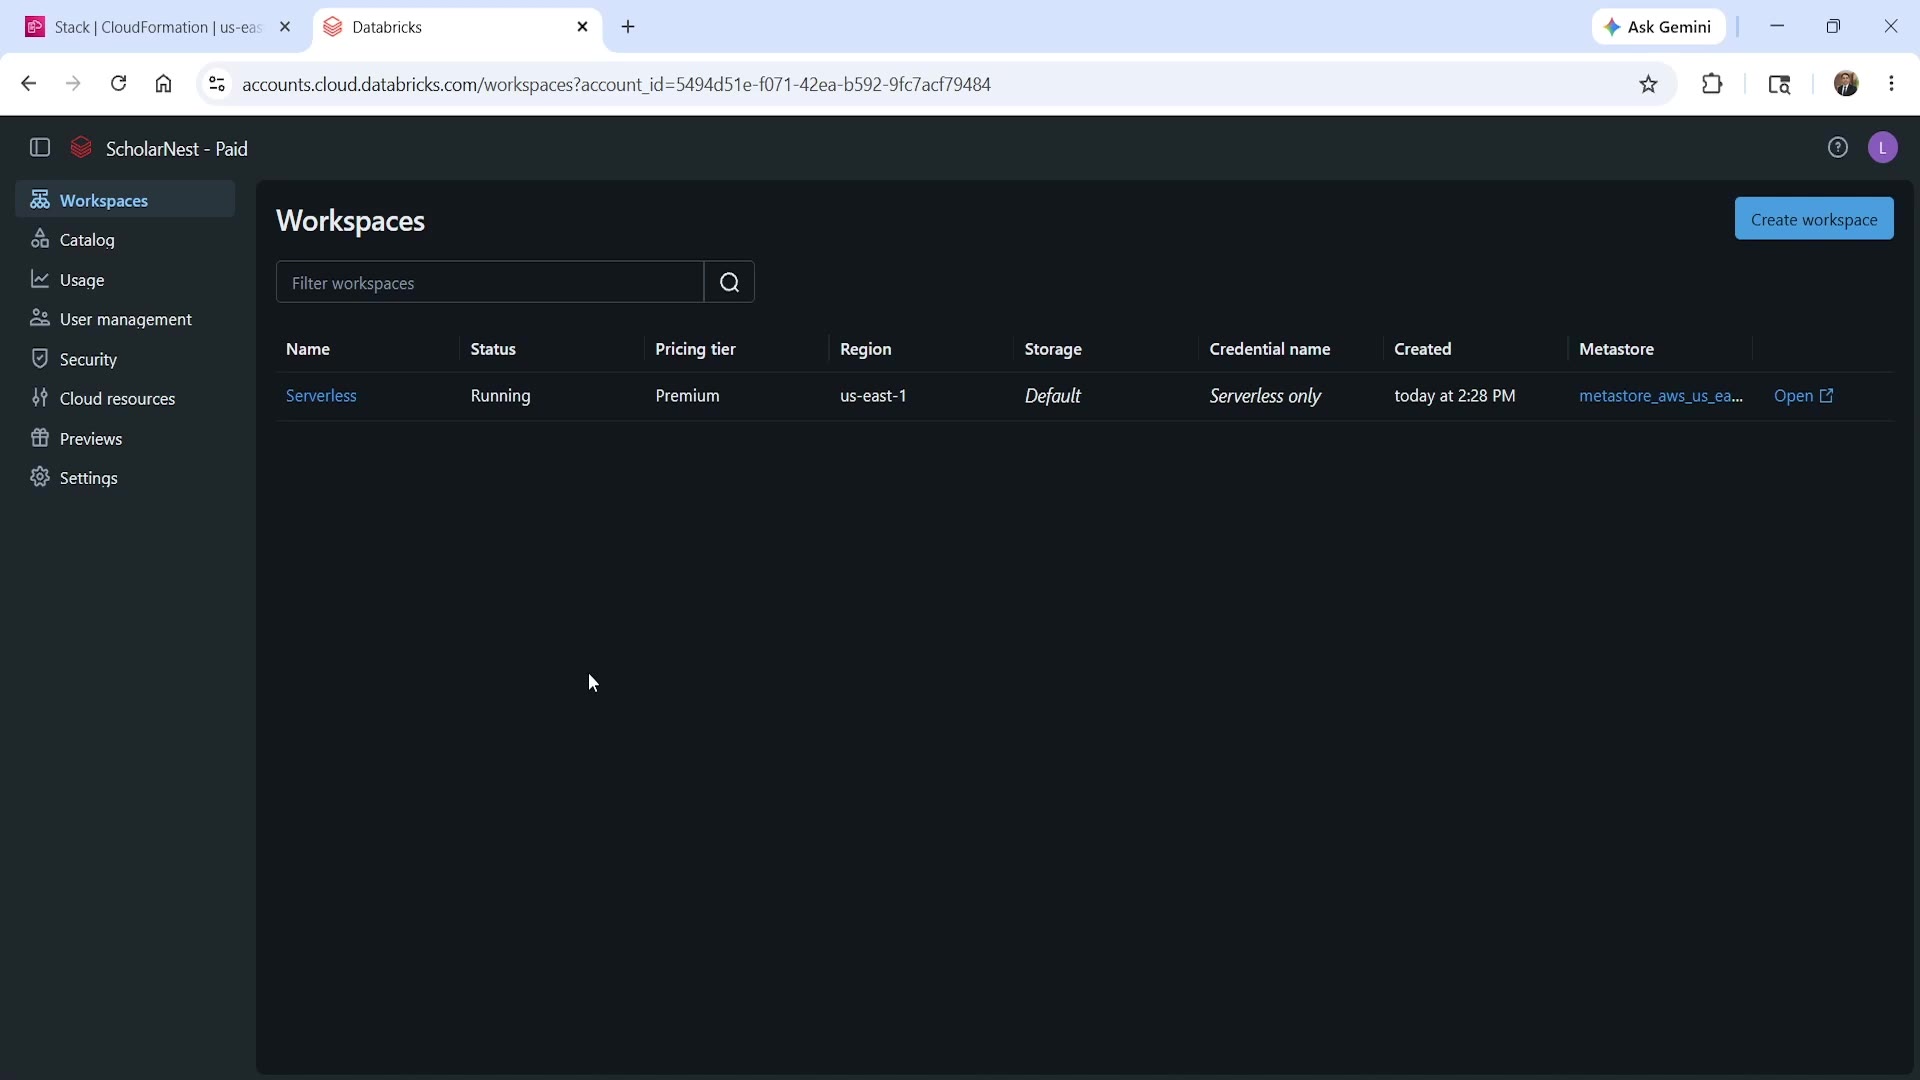 Databricks workspace list after cleanup — only Serverless remains
Summary
| Where | What to Do |
|---|---|
| AWS CloudFormation | Empty the workspace storage bucket first, then delete the stack (removes all 27 resources, including the daily-cost NAT Gateway + Elastic IP) |
| Databricks Account Console | Delete the workspace, then delete its linked compute credential, network configuration, and storage configuration |
| Don't touch | The metastore — it's shared across all workspaces in the region |
Key takeaway: AWS-side cleanup and Databricks-side cleanup are two separate steps — doing one does not automatically do the other. Always check both sides to confirm you've fully cleaned up a classic workspace.
See you again. Keep learning, and keep growing!